
DermEngine Integration for Medtech32
This page explains how to set-up the DermSync software to sync patient demography from the Medtech32 software to DermEngine.
While using this software, patients on Medtech32 will be transferred to the DermEngine platform. On DermEngine, images and lesions can be added to each patient.
Requirements
- A Windows machine with Medtech32 Software installed
- The user needs to have permission to install DermSync
Installation Steps
- On the server* computer, download the integration software (DermSync)
| For Windows DermSync-setup-services.msi |
Learn about the differences by clicking here
- Install DermSync on your machine (Default Folder: C:\Program Files (x86)\DermSync\).
Users need to have write permissions on this folder.
Note: We recommend installing DermSync for all users.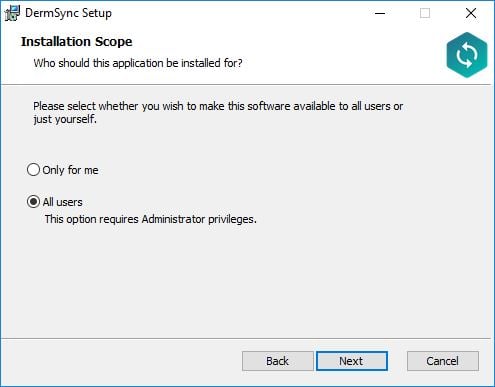
- Download and install the Embarcadero InterBase ODBC driver.
odbcibinstall.zip - Double click to run the DermSync application.
- Enter your DermEngine credentials including your email and either your password or access key.
If you don't already have an account, visit https://app.dermengine.com/ or download the mobile app.
To learn how to create an account click here.
The access key can be retrieved on DermEngine under the Account menu. - Select "Medtech" from the drop down list

- Enter the database settings.
Selecting the MT32.INI file will automatically fill in the database settings. If the file was unable to be parsed, the settings can also be manually entered or changed.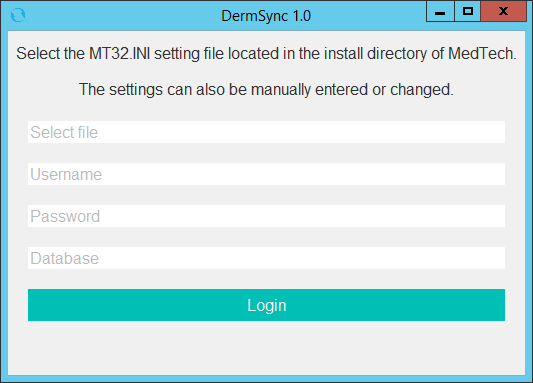
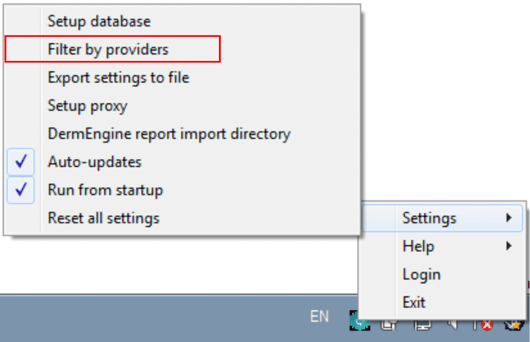
Filter the export based on the providers, e.g. doctors, to limit the patients sent to DermEngine (By default all patients from all doctors will be transferred):
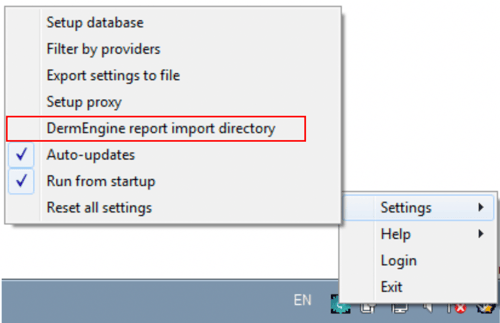
Click the application icon in Taskbar (by default at the bottom right of the screen)
Select Settings and then Filter by providers
Select from the list, providers whose patients you would like to transfer to DermEngine.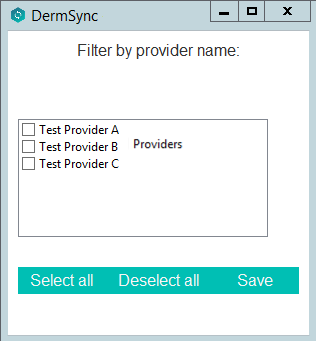
- From Settings, select Run from startup to ensure the application will restart after the computer reboots.
Transfer Patients
- Patients will be sent to DermEngine when the patient demographics are added or updated on Medtech32.

- Patients will also be sent to DermEngine when there is an appointment scheduled.

Import Timeline Reports to MedTech32
Setup
- On MedTech32, open Tools > Message Transfer > Message Transfer Utility.
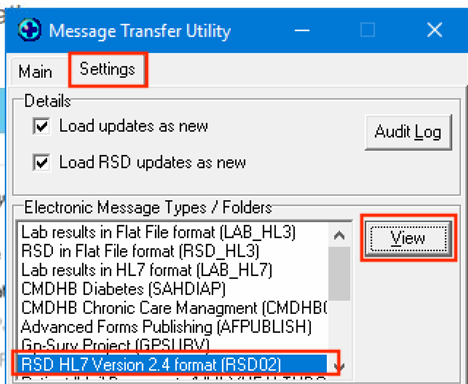
- Select Settings tab
- Select RSD HL7 Version 2.4 format.
- Select View
- Copy the path for File Receive Path.

- For DermSync, click on the taskbar icon, then select "Set up results import directory". Select the same path in DermSync.
Export
- On DermEngine web, create a Timeline Report. Press the button to Print Report and Export.

- DermSync will save the report to the selected folder. When Medtech32 imports the report, the file will be deleted automatically.
- On MedTech32, open Provider Inbox. The patient referrals messages are available with timeline reports attached as PDF.

Updating DermSync
- When a new version of DermSync is available, the message below will pop up.
By simply clicking "Update", DermSync will download the most recent version and restart.
- If you are using DermSync v1.x, please make sure to first close the app by right clicking on the icon in the bottom right corner and selecting "Close".


FAQ
The list of fields transferred is: First name, Last name, Date Of birth, Gender, Health number (NHI), Address, Province, City, Postal code, Phone number, Email