
DermEngine Integration for Zedmed
This page explains how to set-up the DermSync software to sync patient demographic data from the Zedmed software to DermEngine.
While using this software, patients on Zedmed will be transferred to the DermEngine platform. On DermEngine, images and lesions can be added to each patient.
Note: If updating from an older version of DermSync before 2.15, the instructions for Zedmed Office are also available here.
Requirements:
- A Windows or Mac machine with Zedmed installed
- The user needs to have permission to install DermSync
- Firebird (v2.5+) and Firebird ODBC driver and (v2.0.5+) need to be installed to access the database:
Steps:
- On the server* computer, download the integration software (DermSync)
| For Windows DermSync-setup-service.msi | For Mac 64 bit (x64) DermSync.app |
*Not recommended for terminal servers
For Windows
DermSync-setup.msiLearn about the differences by clicking here
DermSync-setup.msiLearn about the differences by clicking here
- If you are using a Windows Machine, install DermSync on your machine (Default Folder: C:\Program Files (x86)\DermSync\).
Users need to have write permissions on this folder.
Note: We recommend installing DermSync for all users.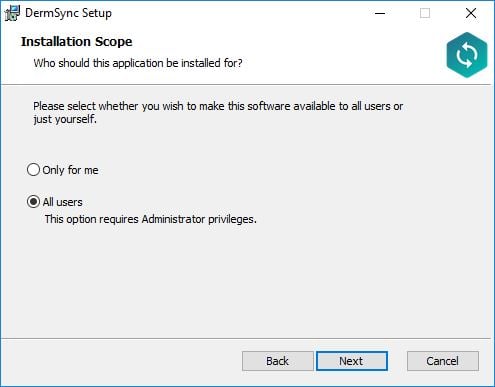
- Double click to run the DermSync application or right click and select "Open".
- Enter your DermEngine credentials including your email and either your password or access key.
If you don't already have an account, visit https://app.dermengine.com/ or download the mobile app.
To learn how to create an account click here.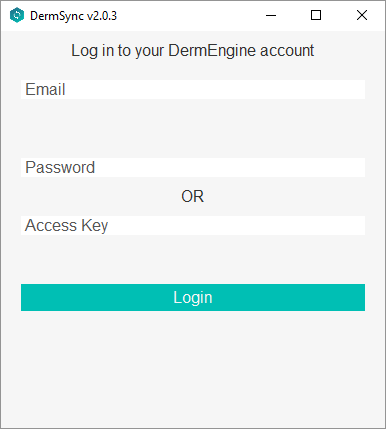
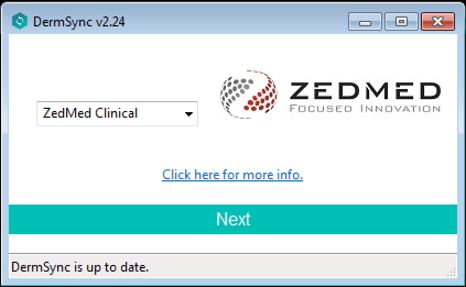
The access key can be retrieved on DermEngine under the Account menu. - Select "Zedmed Clinical" from the drop down list
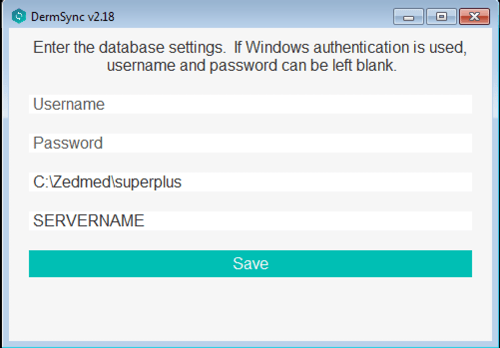
- Enter the database settings. If there is an existing database user named “integrator” to use for database integrations, enter the credentials for this user.
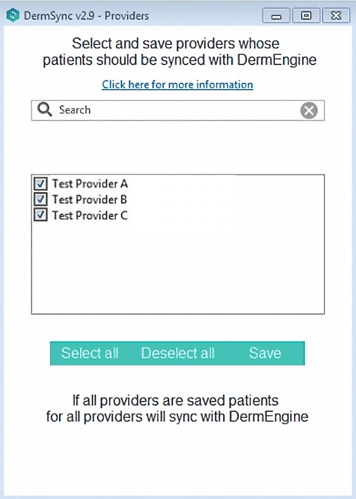
- Select from the list, providers whose patients you would like to transfer to DermEngine
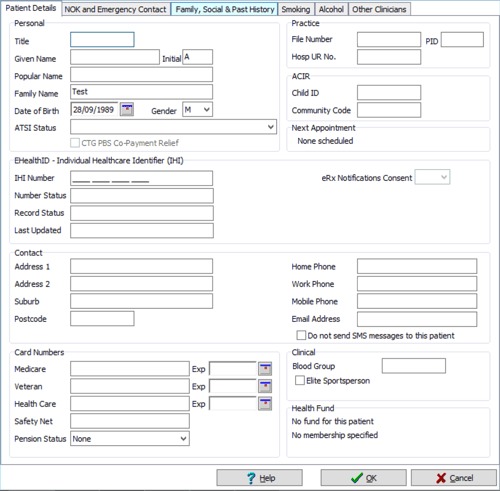
- Select any patient and edit or create a new patient.
- Once you have successfully logged in, any patients created or updated on Zedmed will be available on your Patient List on DermEngine and the mobile apps.
To sync to multiple clinics:
- DermSync can also be set up to sync patients from different ZedMed clinics to different DermEngine clinics (requires DermSync version 2.26 or later)
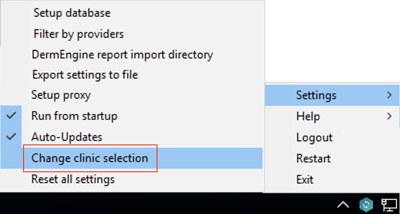
- Click on the taskbar icon, then select Settings -> Change clinic selection
- For each ZedMed Clinic, select a clinic on DermEngine.
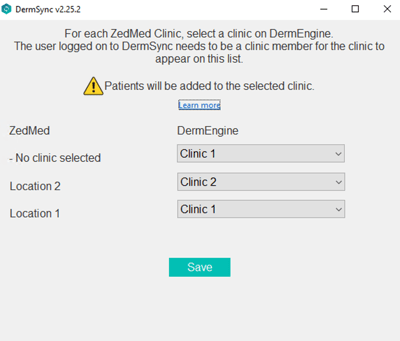
- The user logged on to DermSync needs to be a clinic member for the DermEngine clinic to appear on this list.
- On ZedMed Office, for each patient, set the clinic name in the Usual Branch field. To sync patients without selecting the clinic on ZedMed, use the option "ZedMed - No Clinic Selected" with the default DermEngine clinic to sync to.

- Click "Save" to save the selection.
Import Timeline Reports
(Requires DermSync v2.19 or higher)
Setup
- On Zedmed, set up the path for Results Download, for example: " \\Servername\Zedmed\Download"
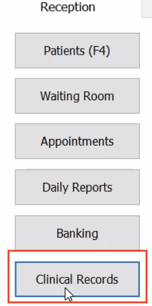
- Select Clinical Records
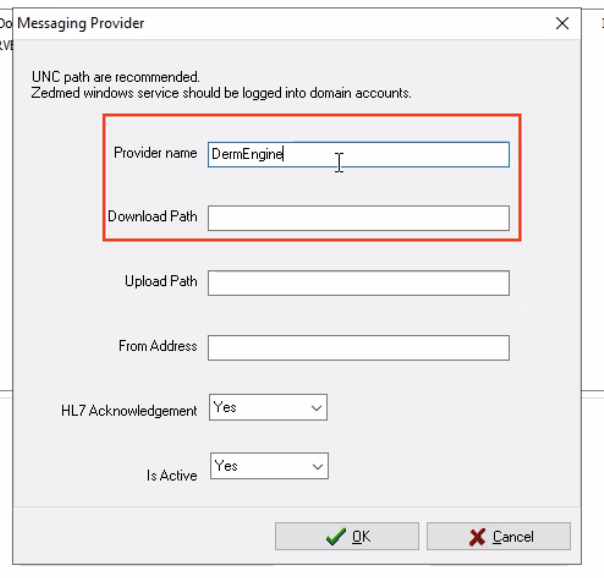
- Select Tools → Global Options → Communications → Messaging Provider → Add

- Fill in Provider name and Download path, other fields can be empty
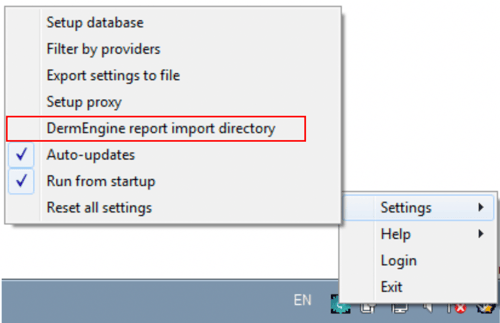
- On DermSync, click on the taskbar icon, then select "DermEngine report import directory". Select the same path in DermSync.
Export
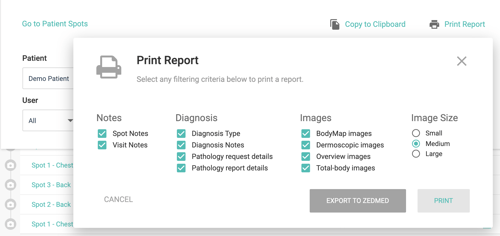
- On DermEngine web, create a Timeline Report. Press the button to Print Report and Export.
- DermSync will save the report to the selected folder. When Zedmed imports the report, the file will be deleted automatically.
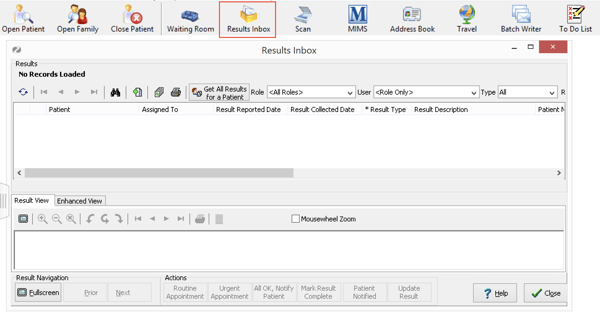
- On Zedmed, the report will be available under Results Inbox.
Updating DermSync:
- When a new version of DermSync is available, the message below will pop up.
By simply clicking "Update", DermSync will download the most recent version and restart.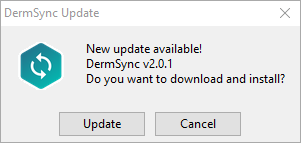
- If you are using DermSync v1.x, please make sure to first close the app by right clicking on the icon in the bottom right corner and selecting "Close".


FAQ:
The list of fields transferred is: First name, Last name, Date Of birth, Gender, Health number (Medicare), Address, City, Postal code, Phone number, Email